


 and eliminate all expenses")
Did you know that you can reduce your bill costs thanks to homemade pellets? Here’s how to do it in three simple steps
For several years, the pellet stove has been one of the favorite heating systems of Italians. Their widespread adoption shows how much citizens need alternative and even cheaper systems.
Thanks to the economic and energy crisis, many are looking for a way to save. Today, in fact, we want to show you how to spend less and say goodbye to the bill by making homemade pellets. If you don’t believe us, we’ll tell you You can do this in three simple steps.
Here’s how to make pellets in three simple steps
There are many families who, despite having classic radiators in the house, decide to purchase a pellet stove. This is because, especially in times of economic hardship such as these, a pellet stove represents an excellent saving on consumption. Savings are derived particularly from fuel, i.e. pellets. This costs relatively little and is particularly effective. However, we want to show you a way to save more and say goodbye to your bill. Help yourself How to make homemade pellets By following three simple steps.
Here’s how to do it in three simple steps (Designmag.it)
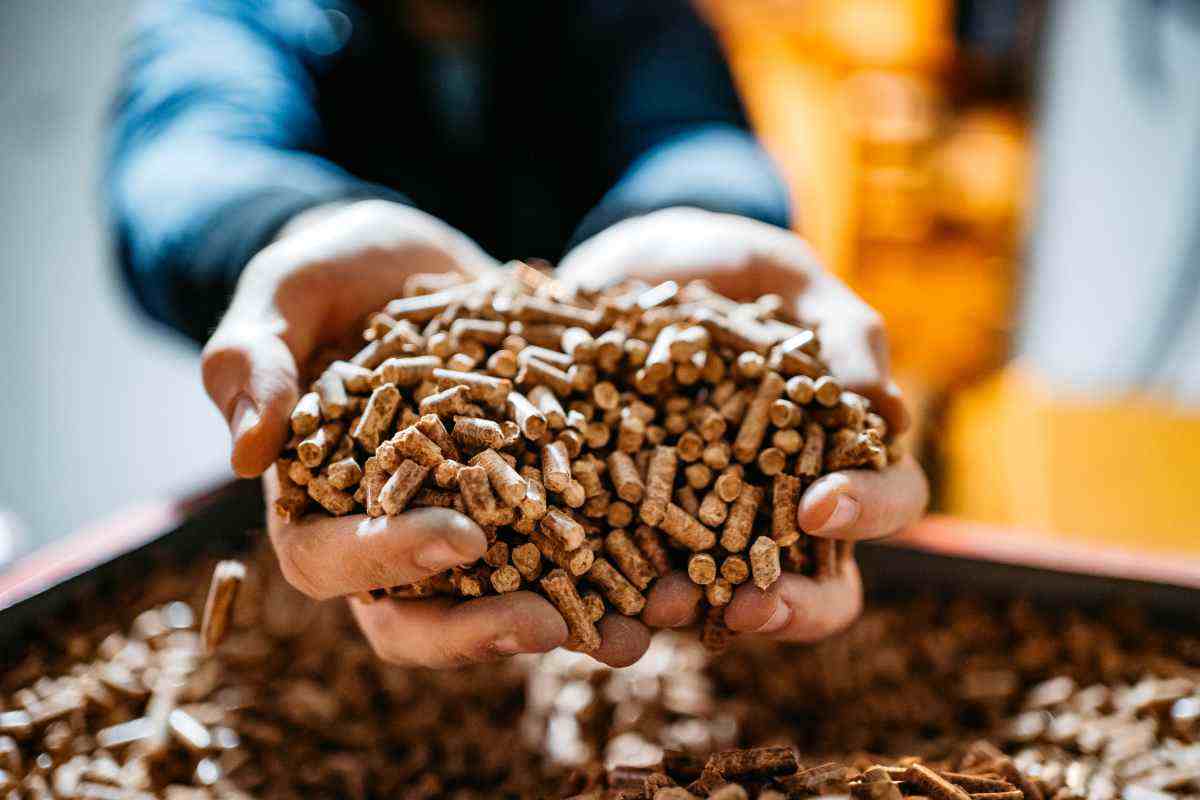
If you want to make homemade pellets, you’ll have to get some material to lose. The ideal solution is to trim branches or waste resulting from the wood industry. Do not use waste on furniture or wardrobes, as it is processed and burning it may release dangerous chemicals. In addition to raw materials, you will have to obtain the appropriate materials Machines To be able to make your own homemade pellets. In fact, you will need it a Wood cuttera hygrometer, Glue for pellets. These tools will allow you to make homemade pellets and save money.
The first thing to do is cut the wood into pieces Cut about 8-10 mm. It will then be necessary to dry the product in the sun for at least 24 hours, in order to get rid of any moisture. Your hygrometer will do this Humidity measurement Inside your homemade pellets. When this reaches the right level, you will have to feed it into the pelletizing machine, which will turn your woodcut into a classic Cylindrical shape of the pellet. To be able to compress it, the advice is to use del Glue natural. After making the classic cylinders you will have to store them in a dry and well-ventilated place, which will protect the new pellets from moisture and prevent them from coming into contact with the ground.


Shannon Bailey writes for Hardwood Paroxysm, covering news, politics, business, technology, sport, entertainment, and lifestyle. They focus on clear reporting, current affairs, and stories that matter to readers, providing reliable information in an accessible and engaging way.


